Wednesday 21 March 2012

Organic and Machine 2

I decided not to go with the big watch head because it didn't look right for a mechanic/organic fusion.

Before I start experimenting with mechanical parts again I wanted correct the original drawing. Whilst speaking with the tutor during the last class it was pointed out that the foreshortening in the leg was wrong and he might look a little more human with a face.

I sorted out the leg on paper because I thought it would be easier than doing it in Photoshop.
I wanted to do the face in Photoshop because I'm not very good at drawing them and I didn't want to ruin the paper by rubbing it out to much. I also tried to sort out the foot because it looks like its at an odd angle.
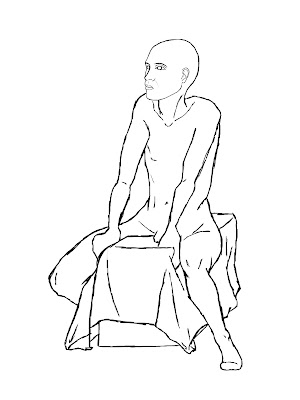
The foot still looks a little odd but that was the best I could get and it's the same with his face. It might look a little better if I add some shading.
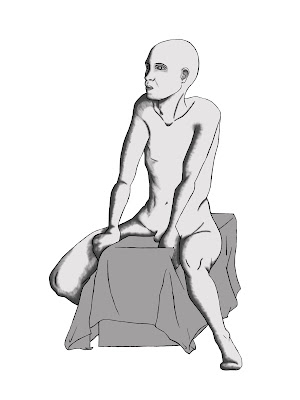
I neatened up the outlines as well and I think I was right about the face looking a little better with some shading on it. I haven't shaded the cloth yet but I will do that after I have decided how I have turned part machine. I still like the pipes at the neck so I think the next step is to put them back on him.
I have made the pipes a little bigger like I said I would in a previous post and I think they look a little better. I'm not sure what to do next so I'm leaving it for today and I'm going to do some artist research tomorrow to see what other people have done with this kind of thing.

Tuesday 20 March 2012

Axe Head 2

I don't know what happened but when I went to do the second ZBrush tutorials my axe head had disappeared. I don't know if I saved it wrong or what but I had to redo it. This is my new axe head:


I had a small problem with this one trying to get the noise on it, when I went to apply it it inflated the whole thing. The only way to solve it was to change the noise settings which ended up changing how my axe looks. I still like how it is but I did prefer how it was before hand.
Will do the next ZBrush tutorial sometime within the next couple of days.

Wednesday 14 March 2012

ZBrush Axe

I followed the ZBrush tutorial and this is the axe head I created.


This is my first real attempt at something in ZBrush so I am reasonably pleased with it, I wish I had spent a little more time on the pattern that's on the axe though.

Organic and Machine

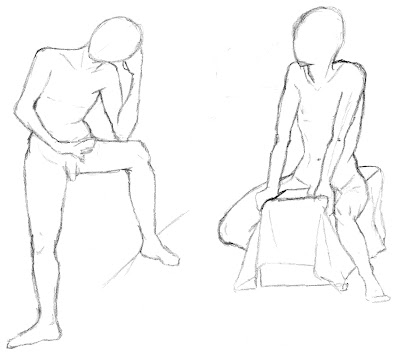
For this task we were asked to choose two of our favorite drawing from the first week session and scan them into Photoshop, pick one of them and replace part of the body with mechanical parts.
I like both of these drawings but the second one is the more successful one I think.

I really wasn't sure how to start this task so I did a mood board of any machine parts I found on Google, just to try and generate any idea where I could start.


Still didn't get many ideas from this but I did decide I wanted to do something with pipes and not cogs and stuff so I did another mood board.


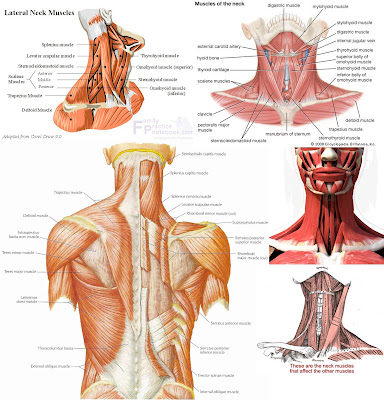
I liked the idea of pipes that can bend rather than stiff ones, so the rubber ones would be better to work with. After this mood board I got the idea of replacing neck muscles with pipes so I looked up some images of neck muscles.


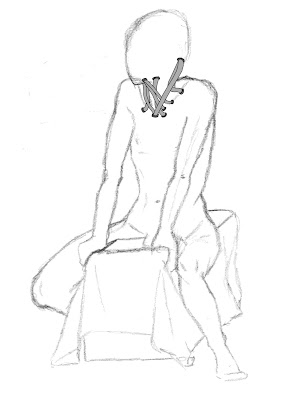
After this I tried putting in where the neck muscles would be on my drawing.
Then I replace the muscles with pipes.
I think the pipes could do with being a little thicker but that doesn't matter right now. I wasn't sure what to do next so I looked through loads images on Google to give me some inspiration and I found these:
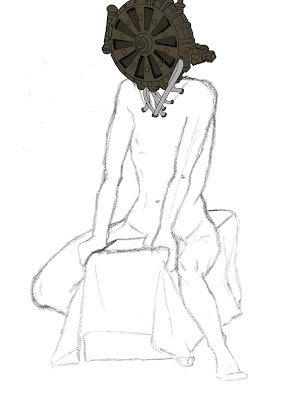
I thought it would be awesome if someone had a steampunk watch for a head with the pipes coming out of it to connect it to the rest of the body.
It looks like it could do with a few more pipes but I thought they would be around the back of him.

Tuesday 13 March 2012

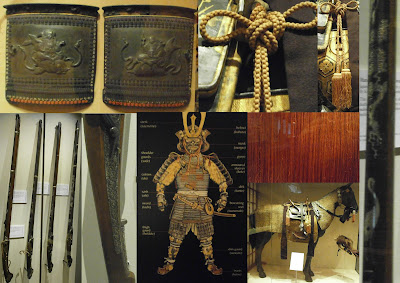
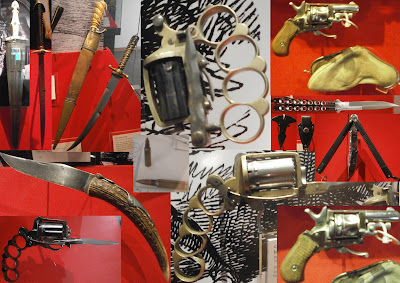
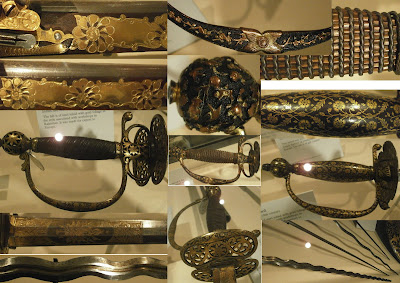
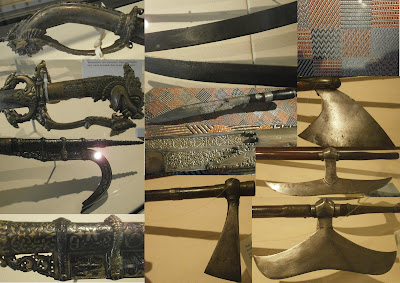
Royal Armoury

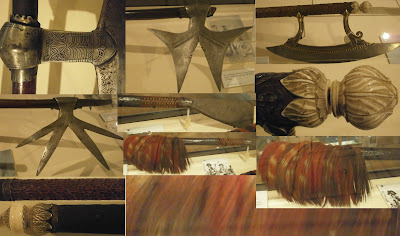
These are the photographs that I took whilst at the Royal Armoury.


Perspective Photographs: Experiments with layer masks

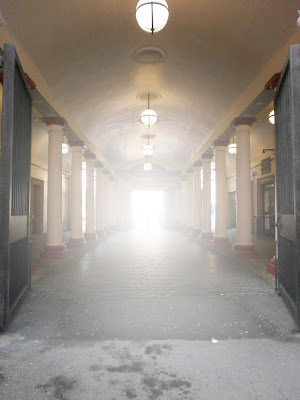
I took one of the photographs and messed around a little in Photoshop with masked layers.

I wanted to see if I could get the image to look faded towards the back to give it a better sense of depth but using white made it look like loads of glare from the light at the end.
I remember reading from one of the task sheets that making it a pale blue in the background gives an image more depth so I tried that next but it still didn't look right.

Definitely the wrong shade of blue and maybe I should have messed with the opacity a little but doing this did give me the idea of trying to make the image look like its sunny outside.

I think this kind of worked. I used two masked layers on this one with a really pale yellow. The first masked layer is a spherical one coming from the end of the walkway to try and make it look sunny there and the second is a horizontal one coming up from the bottom so the road looked a little brighter. I did play with the opacity on this one and I think it looks half decent but not the best.

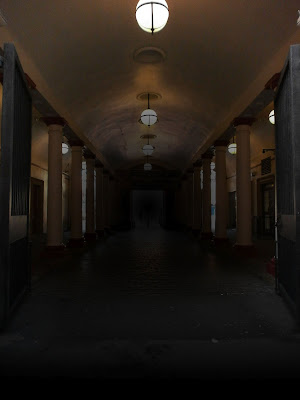
The last thing I tried doing was to make it look like night time.

I don't think this one worked at all, the end of it looks like the colours have been inverted and it's to dark at the bottom of the image. The inside of the walkway looks alright but the rest looks odd.

One, Two and Three Point Perspectives

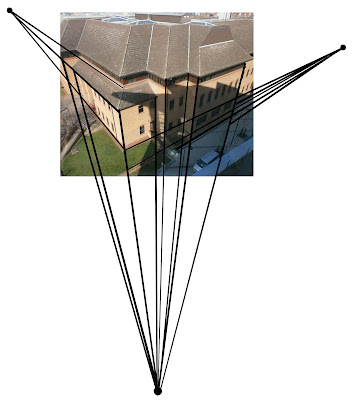
I have drawn some lines onto some of the photographs to show the different perspectives.

These are the one point perspective photographs:


Two point perspective:


Three point perspective:

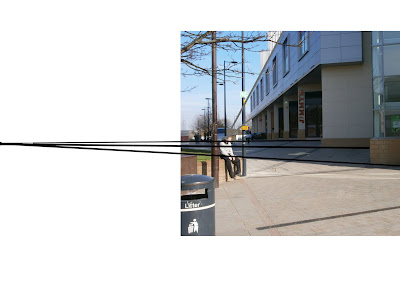
I'm not really sure what perspective this photo is, it has two different vanishing points but it doesn't look like a normal two point perspective, the black line shows where the first one is and there are grey lines showing where the second one is:

Photographs for Perspective Task

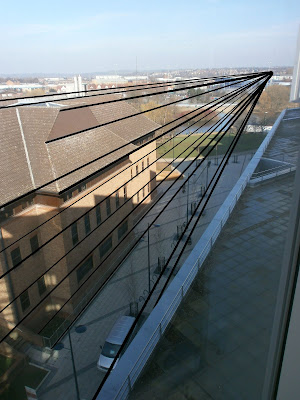
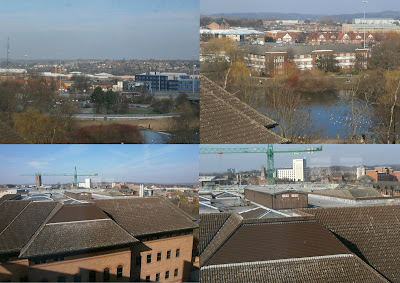
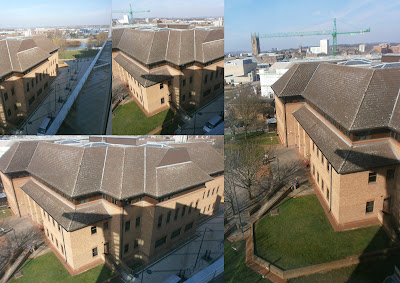
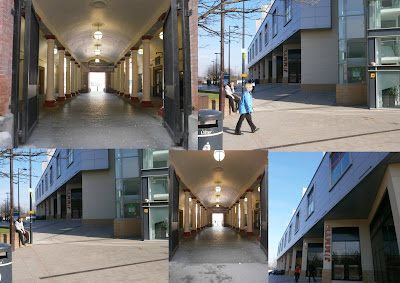
I spent the day looking around Derby town centre to find places that would give me one-point, two-point and three-point perspectives. One and two-point were not that hard to find but for three point I wanted to get on top of a building but it was hard to find one where we could have permission to go on a roof.

Eventually I went to a hotel and they let me take some photographs from the top floor windows.

These are the photos I took from that day: