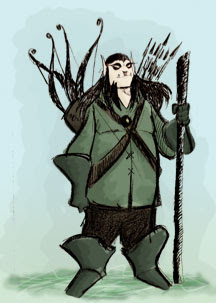
We were given an image of an elf to complete this tutorial:
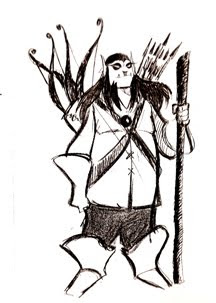
The task was to follow the tutorial and basically colour this guy in to create a coloured character concept and to experiment with and use layer effects.
The first thing I have done is to set the original image to a multiply layer effect so I can see the colours underneath this layer and then block in the colours.
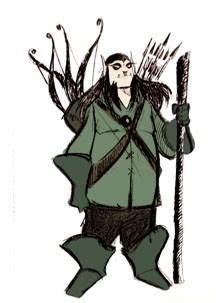
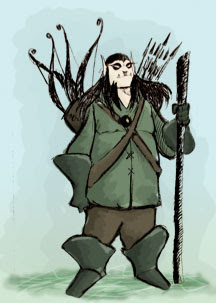
I have added 3 more layers to my image for the dark, mid and light tones. I started with the dark tones and used a multiply layer effect because I liked the way it darkened it but I did change the opacity to 28%. For the mid tones I also used a color burn effect and set the opacity to 12%. For the highlights I used a lighter colour effect with the opacity at 64%.

The next part of the tutorial is to sort out a background. I gave it a gradient with a very pale blue and a very pale green.
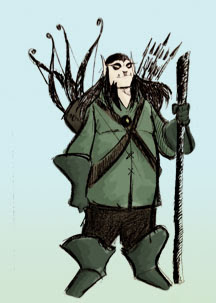
The grass he's standing on is the next thing.
For the grass I have used 3 more layers to get the effect that I want. The base layer for it is just a normal with a blurry green colour and i few lines going through it in a slightly darker green. The second one is a few more lines going through it and a screen layer effect because I thought it looked quite good with how it lightened it but I thought it still needed to be a little darker. The third layer was a some more green lines with an overlay effect but not because it darkened it, I liked how it kind of brightened the green a little bit.
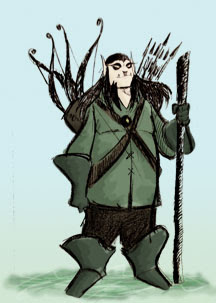
The tutorial showed a shadowy type thing behind him so I used a soft brush at two different opacity's and then changed the layer opacity to 25% and the layer effect to multiply so I could still get some of that background colour through.
The last thing to do is to neaten the black lines up a little bit.
I have neatened up the lines and finished the tutorial but I think I did prefer how it looked before I neatened it.
No comments:
Post a Comment